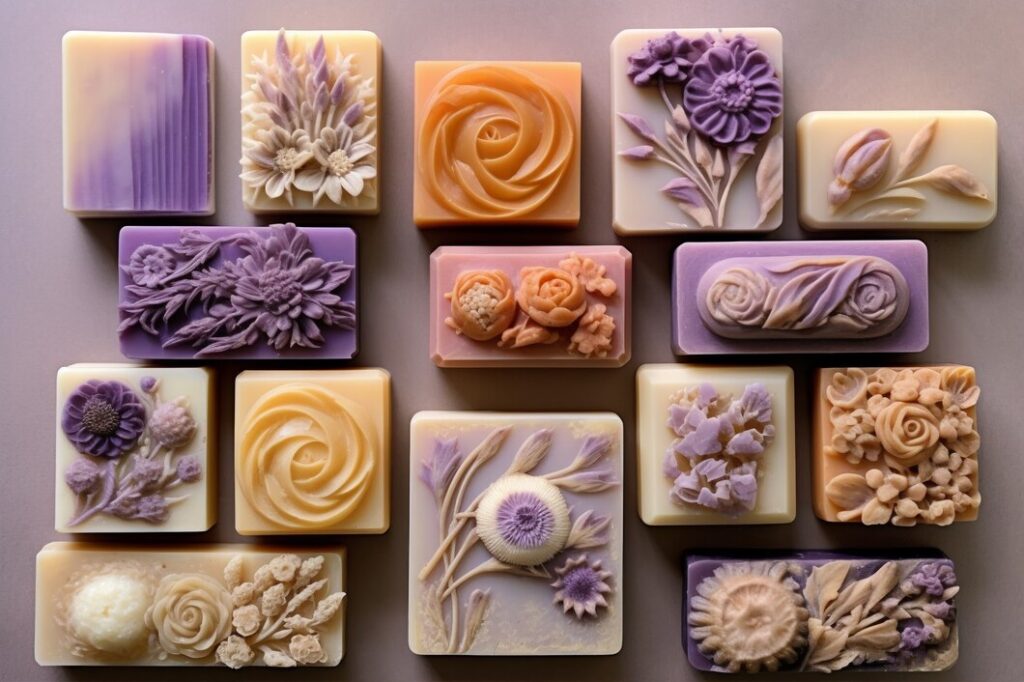
You can choose to add a variety of designs, such as swirl and zig-zag patterns, for your cold-process soaps. Established apothecary suppliers should offer you soap making supplies, including the tools and ingredients you need for the creation process. Here are five interesting patterns to use for your soap bars:
1. Drop Swirls
Using soap making supplies purchased from skilled apothecary specialists could enhance the aesthetics of your finished soaps. Begin by making your soap batter to form a thin trace. You then pour at least one-quarter of the soap batter into different containers, each mixed using a different color. To create downward swirling partners, start by pouring varying soap colors at different heights into a soap mold.
Pour your base color into the bottom part of your soap mold. After that, pour the other soap colors into the top part of the base layer. These colors have to drop through the top as they swirl toward the base. If you want more intricate swirls, apply thin soap batters. You could achieve more outstanding swirls when you pour soap batters from a higher position. This way, colored soaps hit the base with more force when you pour from a high point, leading to dramatic swirls.
2. In-the-pot Swirls
To create this design, you swirl different soap colors in a pot before pouring the mixture into a mold. Swirling in a thin trace leads to a batter that is more whispy and fine while swirling in a thick trace leads to a batter that is bold and thicker. To make in-the-pot swirl patterns, you begin by stirring your batter to form a thin trace. Put a quarter of the mixture inside separate containers.
Every container will have a unique color depending on the colorant used. Pour the colored soap back into the pot with a neutral color. Give your soap one stir so you do not thoroughly mix all the colors, then pour the soap batter into the mold. When additional swirling is necessary, you could use a skewer from your apothecary supplies.
3. Circling Taiwan Swirls
The circular Taiwan swirl pattern stands out because of the circular motion that pulls your swirls to create the curving effect. Start by preparing your fragrances and mold. Put two end pieces into the mold and place three relatively long divider pieces inside the end pieces. Add Iye to water carefully while gently dissolving until the liquid becomes clear. Melt the oils and fragrances and mix before pouring a quarter of the batter into your bowl. Let the water with Iye and oils cool before blending.
Divide the soap mixture across different containers and add unique colorants. Pour the fragrance oil into every container and use a whisk to mix. Then, pour the colored mixture in the containers into the mold with the four sections. Make sure each section with a unique color is filled proportionally. Pull out the pieces dividing the sections in the mold. Use chopsticks to swirl repeatedly up and down the mold’s length. Leave your soap in the mold for at least two days for the designs to fully cure. You could cut the bars horizontally to make your patterns visible.
4. Hanger Swirls
Hanger swirls are unique styles, such as a zig-zag design or a round swirl pattern. Experienced apothecary suppliers offer lye-safe tools and hanger tools for swirling. Hanger tools from recognized providers fit across the mold while offering enough length on either side to hold.
To make hanger swirl patterns, you start by bringing your soap to batter before you separate the soap across different containers and add different colors to each one. You then pour the soap into your mold to make the layers. Having a thick soap mold helps it support the upper layers. After putting all layers into the soap mold, put the hanger tool on one part of the mold. Drag the hanger across the soap layers. The up and down movements give you diagonal zig-zag patterns.
5. Peacock Swirls
The peacock swirl patterns might resemble a male peacock’s plumage or a flower bouquet. When making these patterns, start by getting oils and fragrances from suppliers of soap-making products so your soap becomes rock-hard after curing. Make a soap mixture using Iye and oils until you achieve a steady emulsion. Divide some of the soap mixture into containers and add two to three teaspoons of unique colors to every container.
Pour the colored solution into your base of uncolored soap. You could squirt the colors on top of the base for faster results. Lay the colored soap along straight lines over your base to create contrast. Use raking tools to break the straight lines. You then apply a skewer or chopsticks to form the peacock design. Conclude by unmolding and cutting the soap after two days before leaving it to cure for around one month.
Look For Soap Making Supplies Today
Soap making supplies from established apothecary suppliers help you create outstanding soap bars with visible patterns. They have the tools you need, such as mixing sticks and slab molds for cold-process soap making. You can access ingredients like slow-moving olive oils from reputable suppliers to enhance the quality of your soap creations. Contact wholesale apothecary suppliers offering soap making supplies today to learn more about patterns to use for your soap bars.
Also Read: Ultimate Guide on Face Swap Technology
